How to Use Jump Rings | Step by Step: Beginner's Guide
Are you trying to learn how to use jump rings for jewelry making? So we can help you with that. Here we will go through everything from jump rings for jewelry-making tasks to making jump rings from scratch. When you were to ask anyone what a jump ring was, you may get a surprised look or a familiar answer. However, the best and short answer is that these rings are used in the jewelry-making procedure and can be used to attach different items such as necklaces to jewelry creations. These rings are in a wide selection of metals, shapes, and sizes for use with different makings in the same or multiple metals. Jump rings are also used in key-rings as well as necklaces. These well-made and strong items have a grip and polish that is expert.
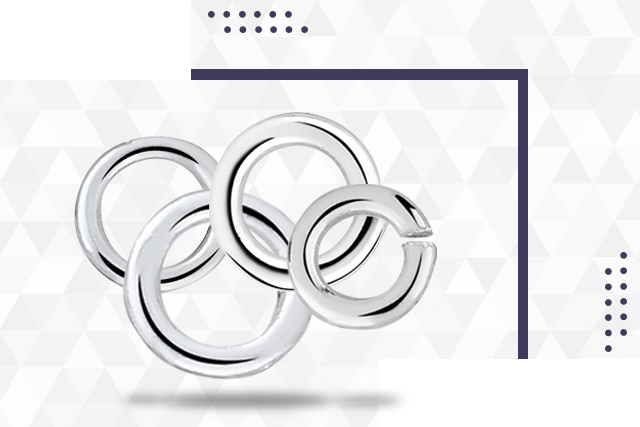
What is a Jump Ring?
Jump rings are loops formed of wire. These are the jewelry-making essentials, permitting you to attach everything from chains to clasps and pendants to charms. Whether you need to make pendants, necklaces, studs, or rings, knowledge of how to use jump rings will help you create professionally finished items that are appealing for daily wear. So if you are an experienced jeweler, you will previously be aware of these rings. Though, if you are a learner, you may not have used them yet.
Rest assured, though, when you do. They will become an essential of your jeweler’s tool kit. What is a jump ring, then? It is an essential finding for jewelry making, permitting you to link different apparatuses – such as
- Clasps
- Pendants
- Earrings
- Necklace and any other jewelry item.
When learning how to use jump rings, it's essential to understand the different varieties and what they're used for.
There are two main types of jump ring:
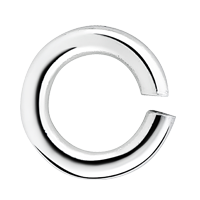
- A little metal ring with a tight cut that functions as an opening are called open jump rings.
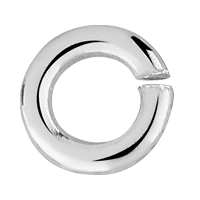
- A little metal loop without an opening. These can be soldered directly onto adornments pieces or strung onto different sections are known as closed jump rings.
All you know, these rings are in a wide variety of different sizes and alloys, allowing you to match them to each piece you create. You can likewise add any other design for a more beautiful look.
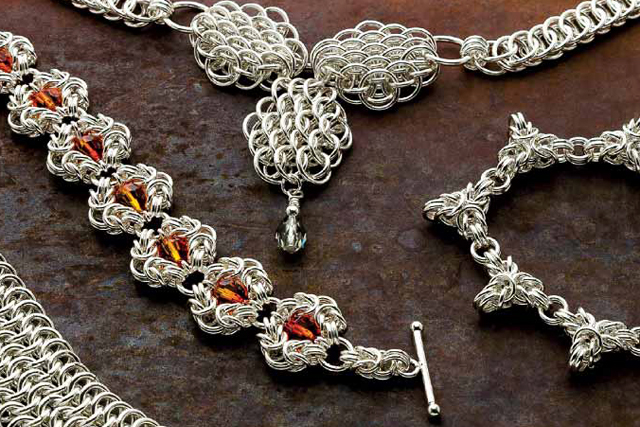
How to Use Jump Rings?
These are very useful and appealing to the eyes when combined into a creative jewelry design. The most significant part of a jump ring when collecting earrings, necklaces, and bracelets is to be sure it is closed appropriately and other components swing right off the ring. At first, it's significant that you choose the right ones for your design. Beyond finish and shape, you will also have to think about measurement, which decides the size of the ring, and weight, controlled by the thickness of the wire used to make the jump ring. Together, these two estimations decide how solid this ring is a significant factor to consider if you need to ensure that your piece will be strong enough for ordinary wear. According to our experience, the heavier the part you're making, the stronger the jump rings will need to be.
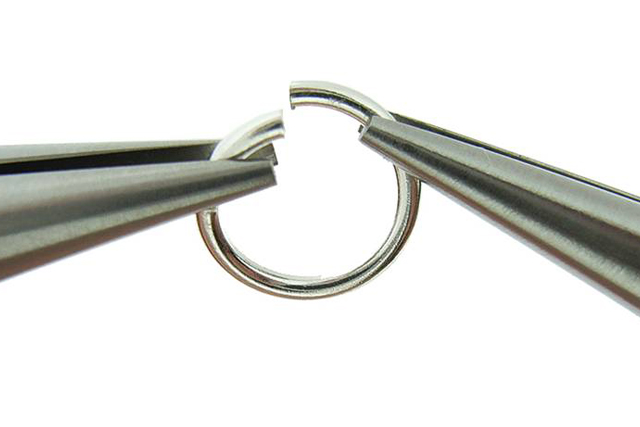
How to Open a Jump Ring?

It is vital to open it properly so that it stays strong for a long time.
- 1.Unfastening the Jump Ring
- Pick up the ring softly with a couple of chain-nose tweezers.
- Use a second pair of pliers to clamp the other end of the ring.
- Twist your rightmost pliers away from you to open the ring.
- Stop twisting when the gap is about 3 to 5 mm (0.12 to 0.20 in) wide.
- Thread any bands or chains onto the ring.
It would be best if you had a lot of experience to get rings to close precisely, and the extra time spent finishing this technique, the better the subsequent jewelry will be. If a ring gets damaged during the opening and closing procedure, it is better to throw it away rather than continue with it. In a chain design, infected rings are weak points and stand out in a worthless piece of jewelry.
How to Close a Jump Ring?
Once you attached your desired chain to it, the next step is to close it tightly and carefully.
- 2.Closing the Ring
- Twist both pairs of pliers to bring the ends of the ring back together.
- Scratch both ends of your jump ring against each other to finish the gap.
- Again-check that your ring is secure with no gaps.
Remember It's depending on the piece you are making; you may choose not to solder the jump ring closed. For instance, if you add charms to a bracelet and want these to be easily removable later on. It would help if you used the jump rings to be easily opened.
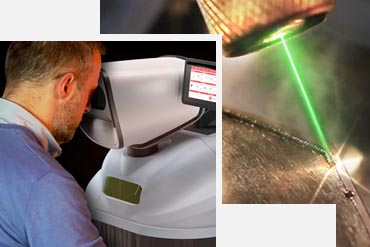
Soldering Jump Rings for Jewelry Making.

These are often used in jewelry making. They are only wire, which is silver metal, covered tightly everywhere a mandrel also by hand or by an electrical/saw. In the end, it is a perfect ring. They can be soldered onto bezel plates for showing cabochons, attaching watch strips, or creating part of the end of a chain. These rings are a handy item in handmade jewelry.
So, when soldering jump rings just a little solder, it should only take a small amount to solder the ring joint closed.
- Make sure that your ring is securely closed, using the steps listed above.
- Carefully apply solder paste to the joint.
- Using the right flame, heat the solder evenly on both sides of the joint until it flows into the seam.
- Remove the piece from the heat and cool before placing it in a preserving solution to clean.
Though significant consideration is required in soldering rings, suppose attaching a jump ring to a more fantastic and heavier silver piece. It is significant to heat the more prominent part first. It is so annoying to harm a nearly finished item of handmade jewelry.
Initially, make the silver to be soldered.
- 1.Mix the flux. Use a pinecone of borax and mix with a small amount of water until it is the consistency of thick cream.
- 2.Make the silver by rubbing the surface to be soldered with some dry and wet to make sure they are spotless.
- 3.Brush them equally with flux.
- 4.Heat the more oversized item before attaching the ring. Anytime use fine solder. The essential characteristic of this is not to use an influential blow torch and use a little bushy flame. Take care when positioning the jump ring to the item. Be aware that primarily the flux will bubble up and transfer the ring out of position.
- 5.When it is confidently protected, quench in cold water before putting the item in a fixed vessel.
- 6.Keep in mind, use soft tweezers to remove the fixed vessel's jewelry and wash it in water.
- 7.Your item is now ready for polishing utilizing dry and wet paper and finished in a tumble polisher. For complex work, a brass brush and foamy water work fine.
In jewelry-making, particularly for handmade rings, it is crucial to know how to solder. Without this familiarity, it confines any designs which you may have. Soldering can be done at home, and the tools can be get online from our exclusive store.
Note: A slow cooker makes a perfect jam pot but does not use this for a crockpot later!
How to Make Jump Rings?
When you are created with jewelry, do not forget your jump rings! They can make pieces come together into beautiful pieces of jewelry that will be appreciated. So many colors, sizes, and rounded shapes are available that go with almost any piece of jewelry except rings, tie tacks, and other jewelry items. Having these all-important rings can help you to finish up a project and get it ready for sale. Without it, well, you do not have jewelry, just pieces. It can also be trying when you do not have these valuable rings and cannot find them. Jewelry making tends to go to a halt when this happens.Perfect quality jump rings are available in the market these days and can be found in online stores, though it’s easy to buy. But sometimes you still want to make your own ring. That’s why we will tell you a great way. So now you are entirely ready to make this ring. Below we have a full description of how can you make this?
There are a few steps about how to make it, if you want to make your own follow our step by step guidelines.
- 1.Step
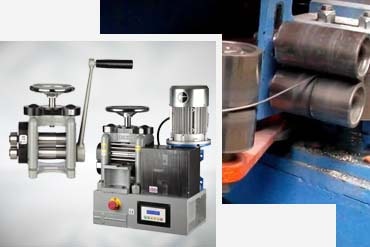
Pick the mandrel, it is measuring approximately 0.8 centimeters in diameter. In such a condition, you can use plastic tweezers.
- 2.Step
Cut almost twenty centimeters of eighteen measure wires, attach them on top of the mandrel, and turn one end rising.
- 3.Step
Interchange the covering finger near your form to cover the wires nearby the mandrel. Repeat to create the following loops until you touch the finish of the wires. You might leave around 1.5cm of wires uncovered.
- 4.Step
Eliminate these loops from the mandrel.
- 5.Step
Now you can utilize your wire reaper to neat the edge of the loop. Remember, you use the plastic tweezer's smooth side to trim the wire to make sure the end is flat.
- 6.Step
Drag the space among the loops by heaving them to the outside
- 7.Step
Here and now put the wire cutter at the second coating of the loops, which is a little close to the right on the side from the first coating's end. This will permit some places for adornment as well as confirm adequate wires to procedure the complete circle. When the spot is confirmed, cut it out from the loop.
- 8.Step
Here you can look at how the ring looks like once you cut it out.
- 9.Step
Here, you can stay to cut the second ring using a similar process. After you cut out this ring. You will feel that one of the edges derives from a sharp edge.
- 10.Step
Pick your smooth side of the cutter to trim off the small size of wires from the ends.
- 11.Step
Use smooth or round plastic tweezers near the opening by moving two sides of the ring to the ring's midpoint.
- 12.Step
Finally, work is completed by the jump ring. Stay to trim the similar way. So you learned about Joyful making rings!
You can visit Alex Machine for further guidance and a great selection of jewelry-making tools.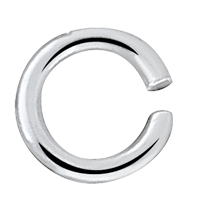
Note:
Today a finished jump ring in your hand. Now you can open it to join a component to your piece, then close it once more. Lay it on your jewelry item. Practice plastic tweezers to pick up the ring on one side of the opening. And the other hand, take the other tweezer and close it on the loop's other side. To open it, you move your right hand away from it and bring your left hand closer to it. You can reverse it when you need to close it. However, you may have required to do it two times to confirm that the ring is completely closed.
Finding the Best Jump Rings for Your Jewelry Making Project
It's essential that whether you will make it by yourself or buy a pre-made ring. Most jewelers do a combination of both. Creating your own jump rings is a valuable skill to have, mainly when working with less commonly used metals. Meanwhile, pre-made rings mean you can save time on the jewelry-making process. A lifesaver when you have got lots of orders to fulfill. Furthermore, these rings are gladly available to buy in a wide variety of sizes, alloys, and even attractive finishes. There’s something out there to suit most designs. For a great selection of jump rings and a wide range of other jewelry, findings follow us!

How to Measure Necklace Size | Necklace Size Calculator 2023
What is a Draw Bench, How to Use Draw Bench | Choose The Right Draw Bench
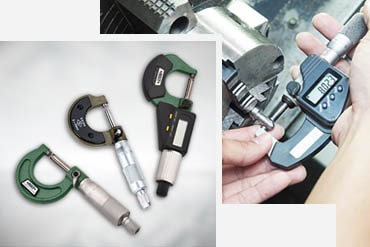
What is Micrometer? | How to Use Micrometer
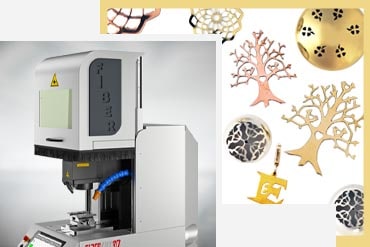
How to Choose the Right Laser Cutting Machine? | 2022 Ultimate Guide

ISTANBUL JEWELRY SHOW HAS ALEX MAKİNA!

What are Diamond Tools?

How to Choose the Right Laser Welding Machine? | 2023 Ultimate Guide