How to Melt Silver to Make Jewelry | Step by Step Guide

Silver is trendy in valuable metals. It's used in jewelry, multiple supplies, and several manufacturing usages. At the end of 19 eras, silver was also a powerful medium of currency exchange worldwide. Silver is an incredible spot to begin when figuring out how to melt metal to make custom-made jewelry designs and know more soldering methods. Thus, silver is abundant in reality. So, as a valuable metal, individuals today prefer to work through it for various reasons. Though It is appealing and is a fine metal for everyone, to begin by. So melting any metal is a generally complex activity to do if you have to go without knowledge and skills.
The Art of Melting Silver
It's essential for yourself to mindful of silver's melting point formerly you begin working with it. So you utilize the proper soldering gear for the work. The top spot to start is becoming familiar with the silver melting point.
What is the Melting Point of Silver?
This is a significant point of this silver metal, that will rely upon which sort of silver you are functioning with. Keep in mind you are in work with 925 sterling silver. This will take a lesser melting point than 999 fine silver, basically because of its composition.
Look at the following table to check the available melting point of the very famous types of silver:
|
Type of metal |
Melting Temperature |
|
925 Sterling Silver |
890°C |
|
999 Fine Silver |
961°C |
|
Britannia Silver |
940°C |
Different Methods to Work With Silver
You mustn't generally be melting bits of a silver piece to make different kinds of jewelry items. Instead, you will be soldering little bits of silver collected or melting results to your metal. Due to the smart thought to get a clear image of some of the diverse specialized terms related to warming metal for fusing purposes. This might help you know what signs to pay special attention to when heating silver with a hand light.
There are only a couple of terms you will understand throughout your silver warming cycle:
1. Annealing
Through annealing the silver (heating it until it sparks a dull pink, red color). You could relax the metal creation, making it relaxed to work with once more.
2. Fire Stain
Fire stain is usually a pale dark shadow on the outward of the silver that occurs during heating. So you can just remove it by repetitive polishing. If the fire stain is not removed during polishing, it will appear when you come to the final touch to your piece.
3. Quenching
Quenching states to the procedure of cooling your silver once it's been heated by simply falling it into a water container. It typically follows a soldering or hardening procedure.
4. Soldering
It is when two parts of the silver are consolidated by utilizing solder, transition, and heating the metal with a hand light. It's necessary to utilize solder since it has a lesser melting temperature than metal.
5. Silver solder
It is used to link two parts or tops of sterling silver. Here we presented four kinds of silver metal solder:
- Solid solder –(High)
- Medium solder
- Easy solder
- Extra easy solder
All these have diverse melting temperatures. So you know how to select the suitable solder for each step in the soldering procedure. But one thing is most important it is used in the order. Start from the maximum melting temperature (solid).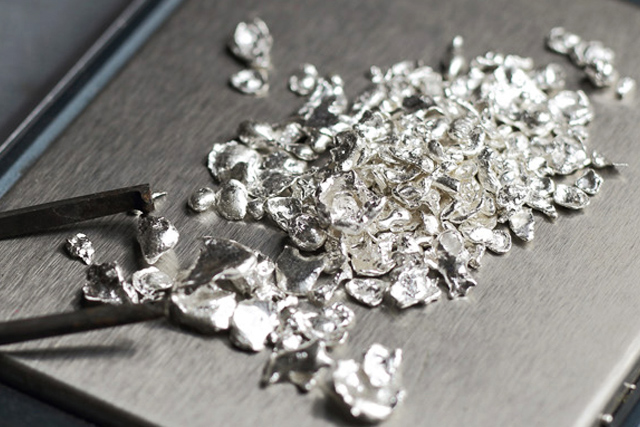
Step by Step Explained:
Step 1 –Gathering Your Supplies
- Safe items to melt. It’s essential to find some items to meltdown. Luckily, while silver is measured as a rare metal, it is relatively popular in our regular events.
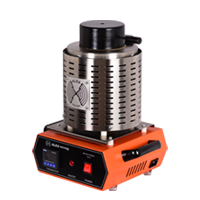
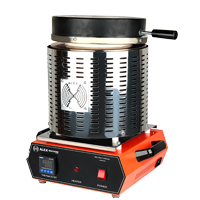
- Get a foundry container. It is used for metal manufacturing. These containers are very heat resistant and will not melt under the same conditions as the metal you are trying to meltdown.
- Find some good heavy-duty container tongs. It is used to move your container according to need.
- Purchase a graphite mixing rod. You can use this rod to mixing your molten silver and be sure that it is fully melted.
- Protect a heater or a blow torch. The heater or torch will be used to heat your metal to its melting point.
- Craft a mold or cast. They will be used to shape your liquid silver to make a final item. Such as, they are critical for your silver melting process.
- You are buying a safety kit to protect yourself. Melting silver is may be very risky. You must get yourself some suitable protection kits to save yourself. Keep in mind to take extra care if you soften silver, and do not do so except you are well secure.

Step 2 –Melting Your Silver
- Set your safety gear and save the area. Formerly starting the melting procedure, you must take out and put on all of your safety equipment. It can be a susceptible activity. So there is no chance to take any risk.
- Place the container with the silver piece in your heater. It will be relying upon the heater type which you use. You don't need to heat your heater and then place the container inside, as this will raise the chance of hurting you.
- Warm-up the heater to a high temperature that surpasses the melting point of the metal. The primary object you should do is to heat. It depends on what type of heater you will use, whether it takes more time or less.
- If you preferred to use a blow torch, apply it to the metal. If you are using a little container for a small amount of silver melting. You need to use a blow torch for work efficiency. In this condition, pick your torch and put on it to the silver.
Step 3 –Molding the Silver
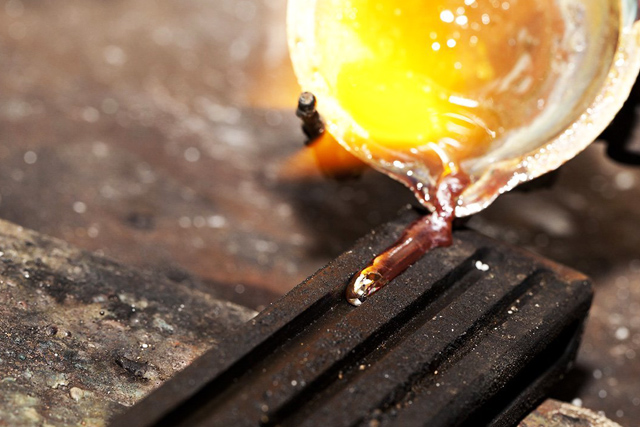
- Eliminate the container when the metal has melted. After melting silver, it’s essential to eliminate your container from the heater and become ready to cast your melted material.
- Scan the slag off your metal. With your graphite mixing rod or any other instrument, scan the slag off the top of your heated silver. Slag is crusts and other supplies that have divided from the silver throughout the melting procedure. It may be the outcome of non-silver products melted with silver. It might be the effect of the silver having crusts in it.
- Pour the melted pieces into the mold quickly. When you have removed the vessel from the heater and set it next to your mold. You should rapidly pour the melted silver into the mold. It would be best if you did this rapidly though the silver is still melted. So, don't move too fast, as you don't need to fall the silver or hurt yourself.
- Dump your silver out of the mold. Now, wait a while and let it cool. It can take anywhere from two to twenty minutes. It depends on the mass and depth of your melted metal.
- Quench your melted pieces. Once you have dumped your metal out of the mold. Here it would help if you quenched it. It is the procedure in which silver is cool and hard-bitten by flooded in water.

How to Measure Necklace Size | Necklace Size Calculator 2023
What is a Draw Bench, How to Use Draw Bench | Choose The Right Draw Bench
What is Micrometer? | How to Use Micrometer
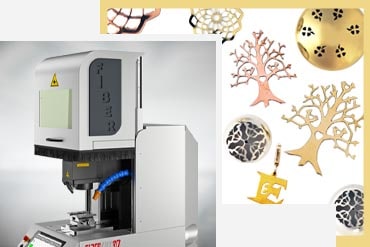
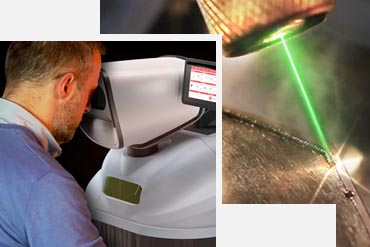
How to Choose the Right Laser Cutting Machine? | 2022 Ultimate Guide
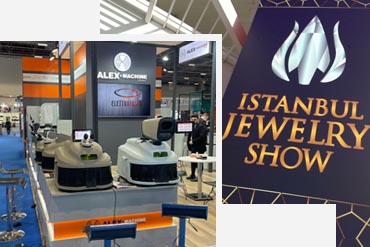
ISTANBUL JEWELRY SHOW HAS ALEX MAKİNA!

What are Diamond Tools?
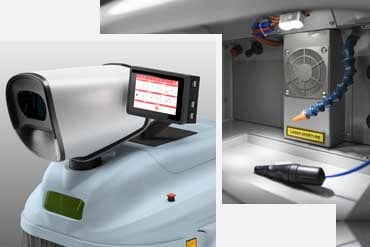
How to Choose the Right Laser Welding Machine? | 2023 Ultimate Guide